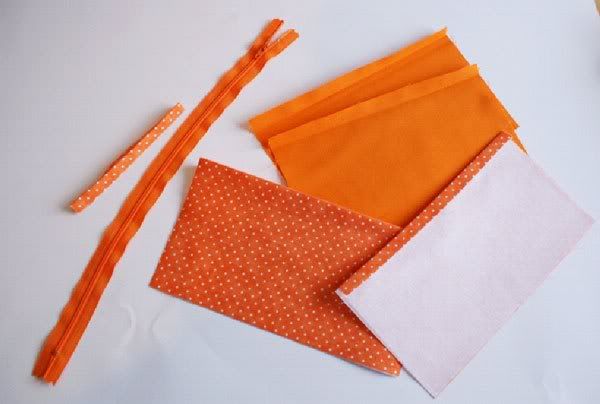
- 1 Zipper - at least 9 inches / 23cm long. I am using a 14 inch zipper in this tutorial. Longer is better, it's much easier to sew when you don't need to worry about getting around the metal parts.
- About 1/2 a fat quarter of fabric - I use 2 different colours, 1/4 of each.
- 1/4 yard of iron-on interfacing. I use a medium weight interfacing; anything heavier would be hard to pull through when turning out.
- Matching thread. I use 'Sulky' embroidery thread as it's nice and strong.
- Sewing machine and zipper foot.
- Pins and sellotape.
Preparing the Pattern:
The pattern for this bag is really simple; all you need is a 22cm by 13cm rectangle. You can make it bigger or smaller to suit you.
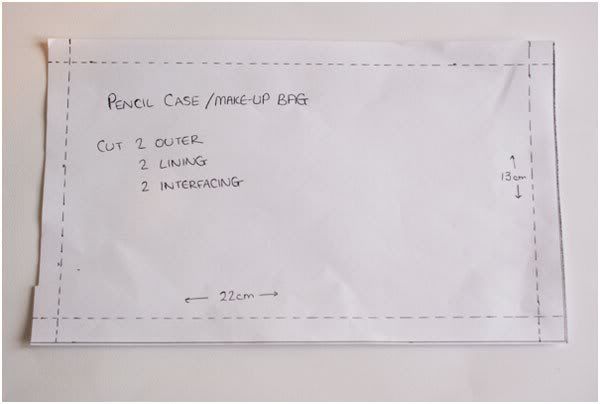
Use a 1cm seam allowance, which is included within these dimensions.
Cut your pattern from a piece of scrap paper or tissue paper.
Cutting The Pieces:
You can trace around the edges of your pattern with a ruler and pencil or tailor’s chalk, or, if you are lucky like me, you may have a cutting ruler.

I love my little cutting ruler as it cuts perfectly through the cotton fabrics I like to use and saves about 50% of the time it takes to mark and cut square pieces of fabric.
They are super cool – get one if you can!
 When cutting out pattern pieces, always line them up close to the edge, so that you can save as much fabric as possible for your next project.
 CUT
2 x Outer fabric,
2 x lining fabric,
2 x Iron-on interfacing
ALSO – if you would like a pull-tab on your bag, I cut a small square, 5cm x 5cm of fabric to press into a little tube. Sometimes I use little fabric scraps to make the tab instead – so long as it is wide enough to fold neatly into a strip.
Ironing and Preparing the Seams:
To get ready to sew your bag, iron all your fabric pieces.
Press the two iron-on interfacing pieces to the back of your outer bag fabric (not the lining). This makes the outside of your bag nice and strong.
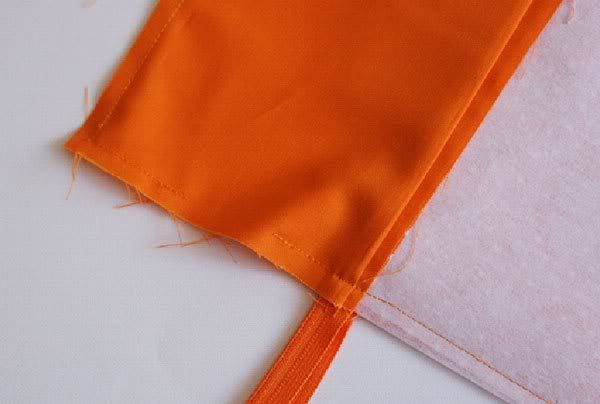
Next you want to prepare the seams that will meet with the zipper.
To do this, fold over the top seam of each of the outside and lining pieces of your bag. You should have 1cm of seam allowance, folded over at the top of each piece.
This helps to line up the fabric with the zipper nice and straight. It’s always a lot easier to stitch on ironed fabric that already knows where you want it to lay! Ironing the zipper seam is very important, so the fabric does not get stuck in the zipper as it opens and closes.
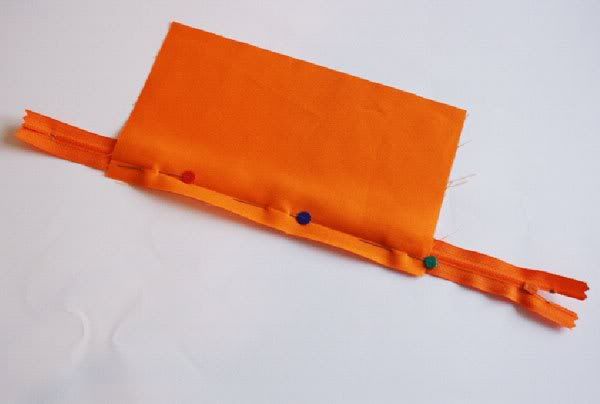
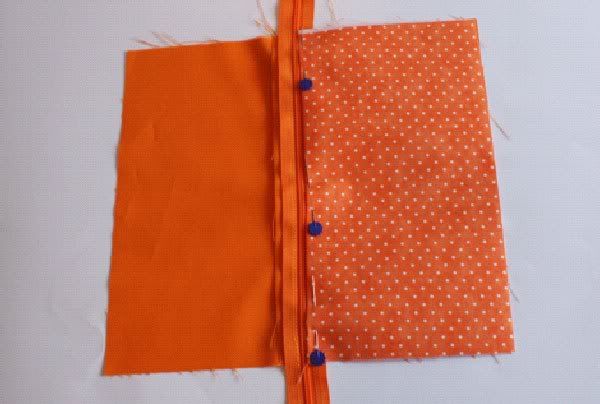
The first step is to stitch the lining fabric to the zipper.
To do this we want to line the folded edge of the lining fabric up with the underside of the zipper.
A big problem with zippers is the lining sticking when you try to open and close your bag. Because of this, we want the lining to be slightly further away from the zipper than the outer fabric.
Line the folded edge of the lining fabric up with the zipper, allowing 4 – 5 mm between the zipper and the lining fabric. Because we want to stitch from the other side, we don’t want to use pins to hold our fabric in place at this stage.

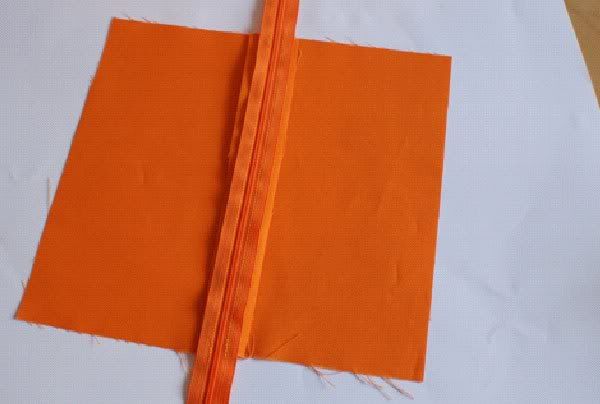
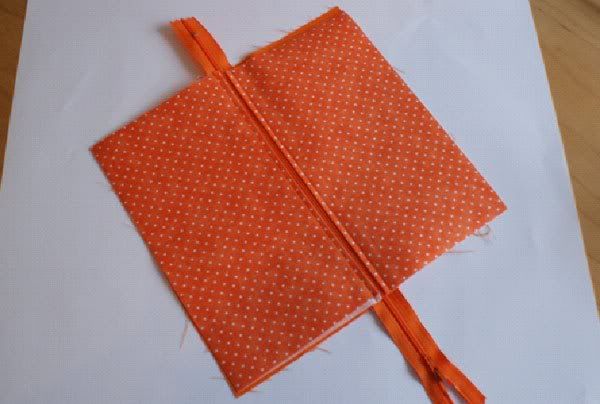
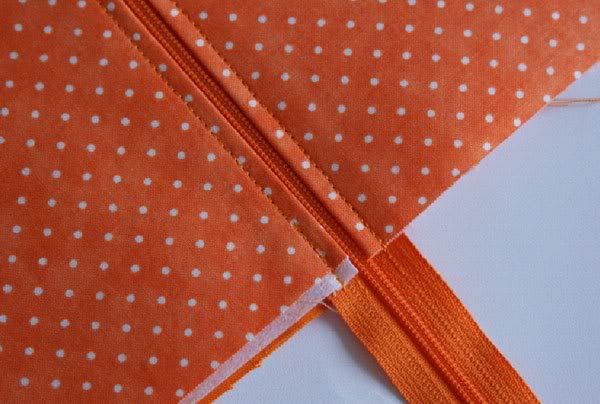
Next we are going to top stitch the outer fabric to the zipper.
A lot of patterns would suggest that you repeat the above process with the seam of the outer fabric first, but I like to skip straight to the juicy part! Mainly because I don’t like to take the chance that something will go wrong, and messy stitching will appear all over the inside of my bag.
You will need to align your stitches so that they catch both the outer and inner fabrics – stitching around 5-6mm away from the zipper.
Stitching the Bag:
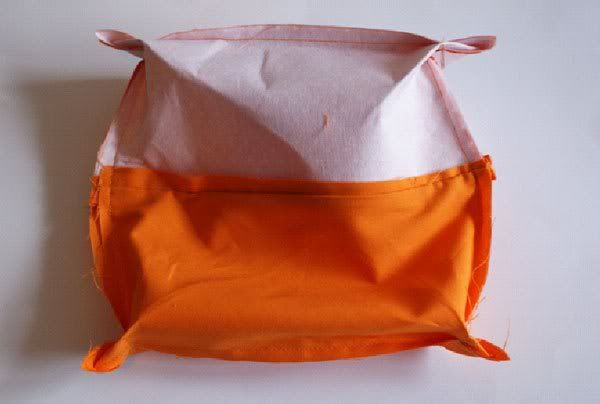
The next step is to assemble your bag and lining, ‘pouch’ the corners and turn the bag out so that the lining is inside the bag.
Here’s how we will assemble the bag:
Lay the bag flat, with the two inside fabrics together on one side, and the outside fabrics on the other, so that the zipper is in the middle. Before you start to pin, make sure the zipper is at least 50% open, but the metal part is far enough away from the edge to stitch past.

Start at the bottom corner of the lining and stitch all around the edges of both lining and outer fabrics.
Stitch straight across the zipper so it is secured inside the lining of the bag.
You will need to leave a gap of about 4-5cm in one side of the lining, so you can turn your bag out later.
If you forget to leave a gap, don’t panic! Simply take your seam ripper and make a small hole in the stitching (big enough to fit two fingers through).
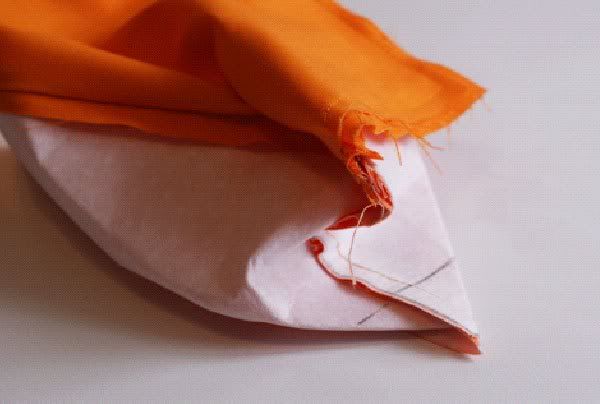
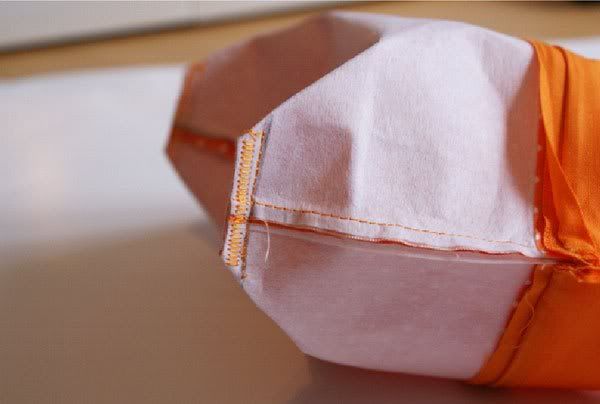
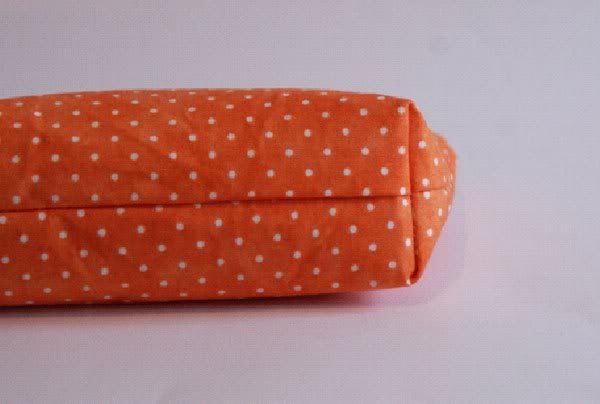
Pouching :
Pouching is a term some bloggers have used to describe the process of squaring off the corners of a bag, in order to create a flat bottom.
To do this, you will need to press your pouch flat on the corners, so that the fabric is at a 90 degree angle.
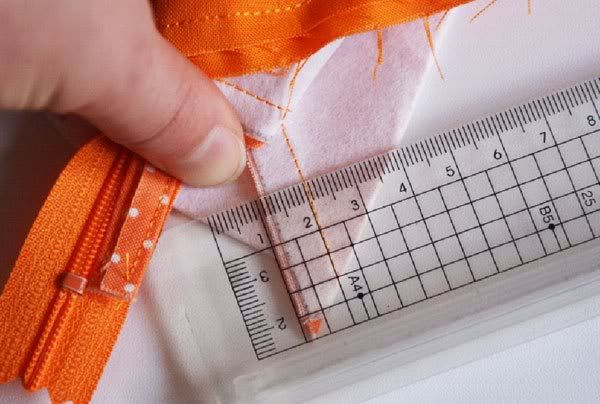
Mark on your bag with a pencil or tailors chalk.
Now is also a good time to trim off any excess zipper that may be hanging in your way.
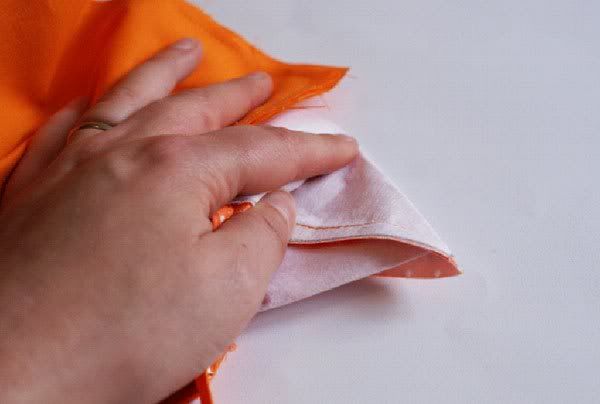
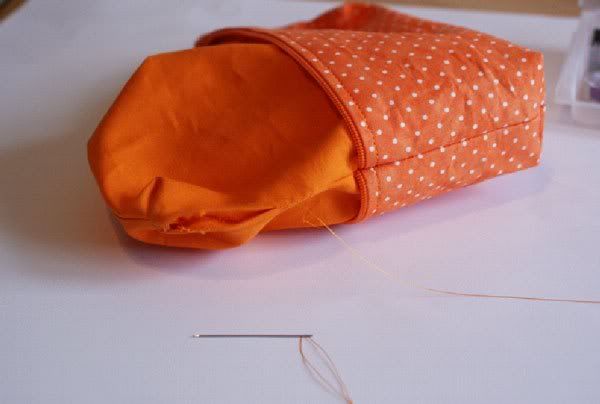
To finish your bag, you will need to pull the entire bag through the hole you left in the lining, turning it right sides out.
I find it helps to poke your fingers through the hole, then grab the opposite corner and pull that through first.
Once you have the zipper through, you are on the home run. Pull the lining out through the zipper and slip-stitch closed the gap.
I like to hand stitch this, because I think it looks prettier, but you could machine stitch the gap closed.
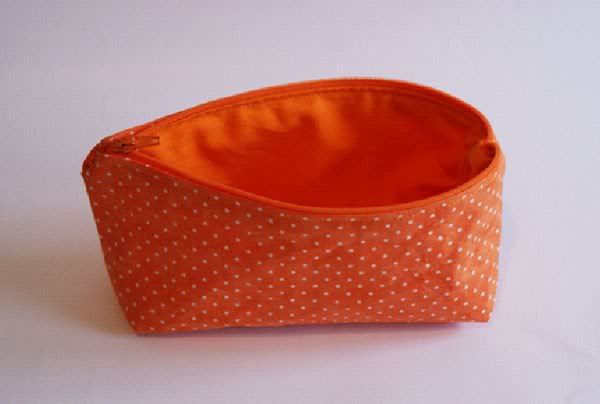
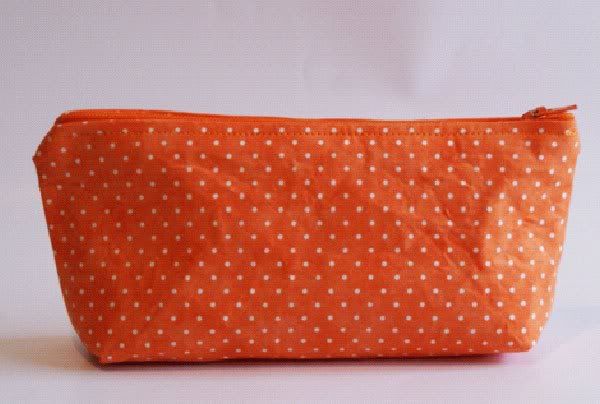
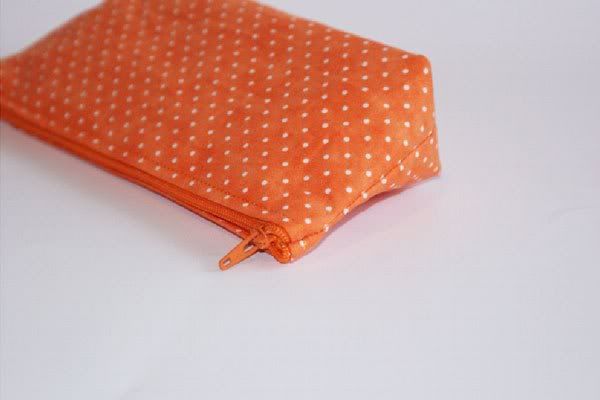
Your Finished Pouch:


7 comments:
Great tutorial! Thank you!
Thanks! Just made one - and it was the easiest tutorial to follow for a zip up bag I have found. Thank you for putting it all down so clearly!
Adorable
I recently made one of these pencil cases, i found the tutorial so easy to follow and so clear and well constructed! The end result is exactly what i wanted ! :)
Thanks for this tutorial! so easy to follow! I have made this last week with your help: http://www.tativivelavie.com/2013/08/projet-creatif-pochette-cyanotype.html
Thanks again!
I just finished this and I love it! It's my first actual sewing project and it was so easy to follow (: I'm using this as my pencil bag for school since I can't find any I like and I LOVE the one I just made!
Hi, just wanted to let you know that I linked to this tutorial from my blog: http://www.sewingshop.net/blog/thursday-treasures-3-theme-orange/
Nice bag and great tutorial!
Post a Comment